Work with item lists
Existing items, or records, are displayed as lists. These item lists let you open individual item details and perform actions on items. Sorting and filtering options are available to help you narrow down lists and find the items you need.
Tip: To support maximum performance, item lists only load the number of items that can be shown on the screen based on the web browser window's height at a single time. Because of this, it is recommended to first use filters to narrow down lists to include only the items you are interested in. Once the list is narrowed down, you can sort it using any column.
 Filter lists
Most lists can be filtered to narrow down the items displayed. Enter text to filter by in the corresponding search box under a column header. The list updates to display only items that match the search criteria. To further filter the list by additional values, enter text to search for in another column's search box.

Note: The Manage Time and Formal Search Results screens have a unique set of search options that can be used to filter the item lists. See Search for time entries and View formal conflict search results.
Sort lists
Lists can be sorted in ascending or descending order by a selected column value.
Note: Lists can only be sorted by one value at a time.
-
Click a column header to sort the list in ascending order by that value. An upwards arrow
 is displayed next to the column header to indicate the ascending sort order.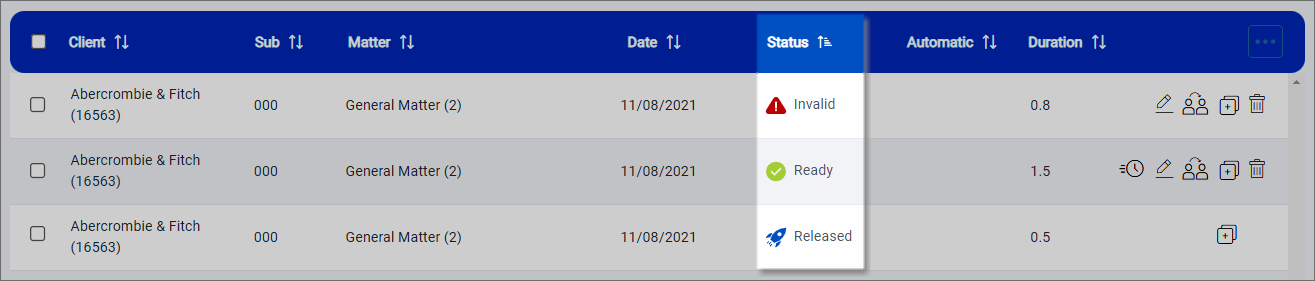
-
Click a column header a second time to sort the list in descending order by that value. A downwards arrow
 is displayed next to the column header to indicate the descending sort order.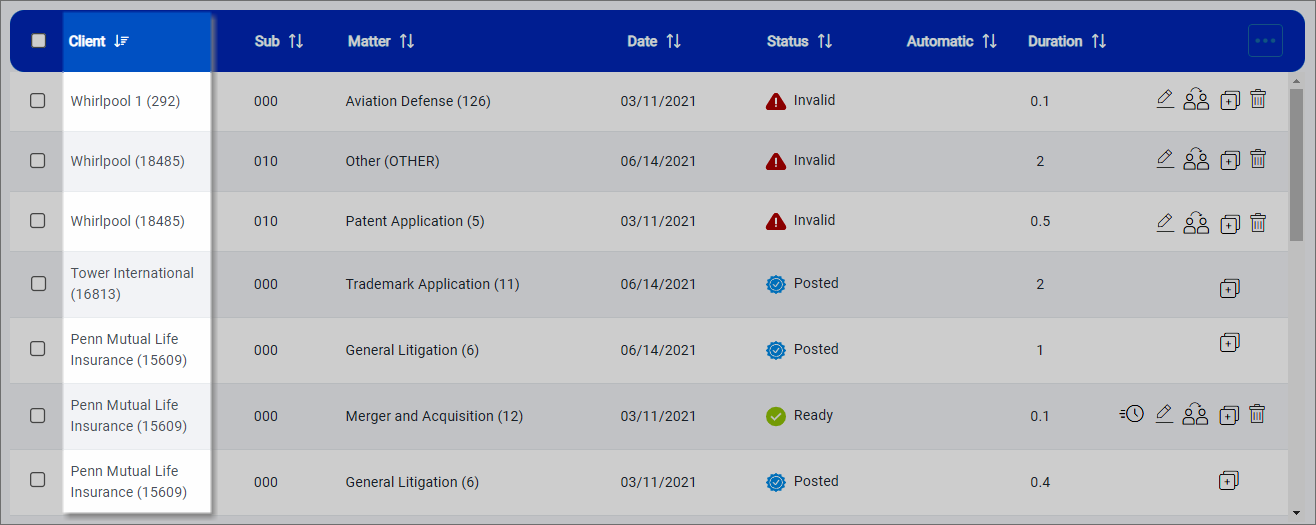
-
Click a column header a third time to remove the sorting and reset the list to its default sort order. A double arrow
 indicates the column is not using ascending or descending sort.
Reset list views
To clear all filters and sorting options and reset lists to their default view, click Reset.
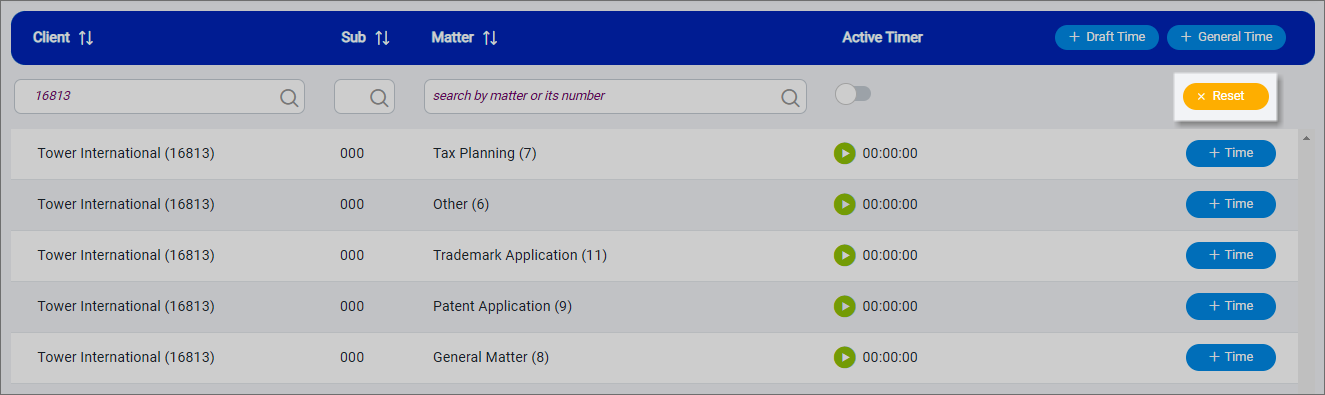
Note: The Reset button is inside the search options on the Manage Time screen.
Customize list columns
The columns on many screens can be customized to show the data that is most important to you.
Note: These column customizations only apply to the logged in user. They do not affect screens when working on behalf of another user or the data included when exporting entries or results to Excel, CSV, or PDF.
-
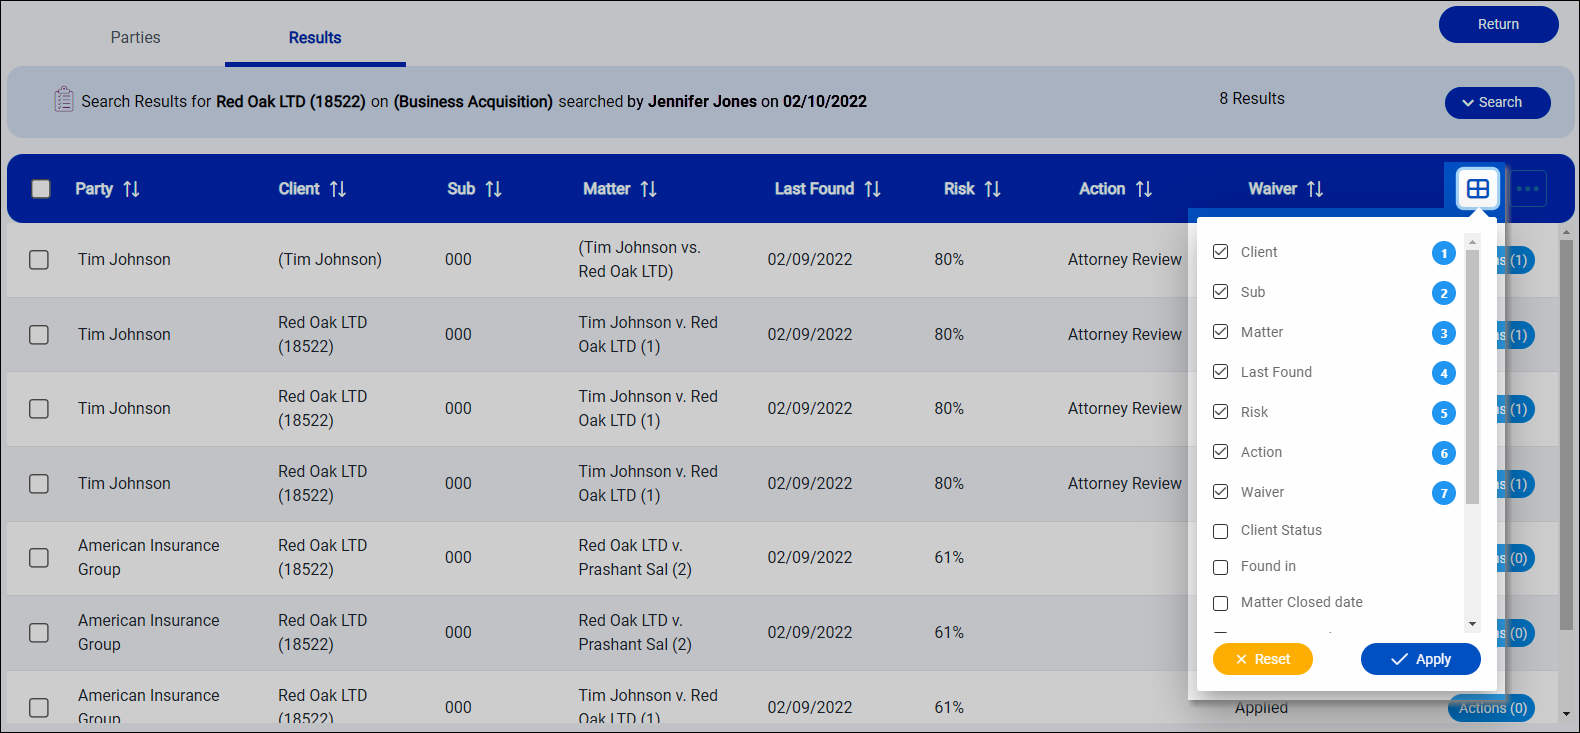
While on the SureTime Add Time, Manage Time, Day View screen or the SureClear formal search Results screen, click
 in the column header area.
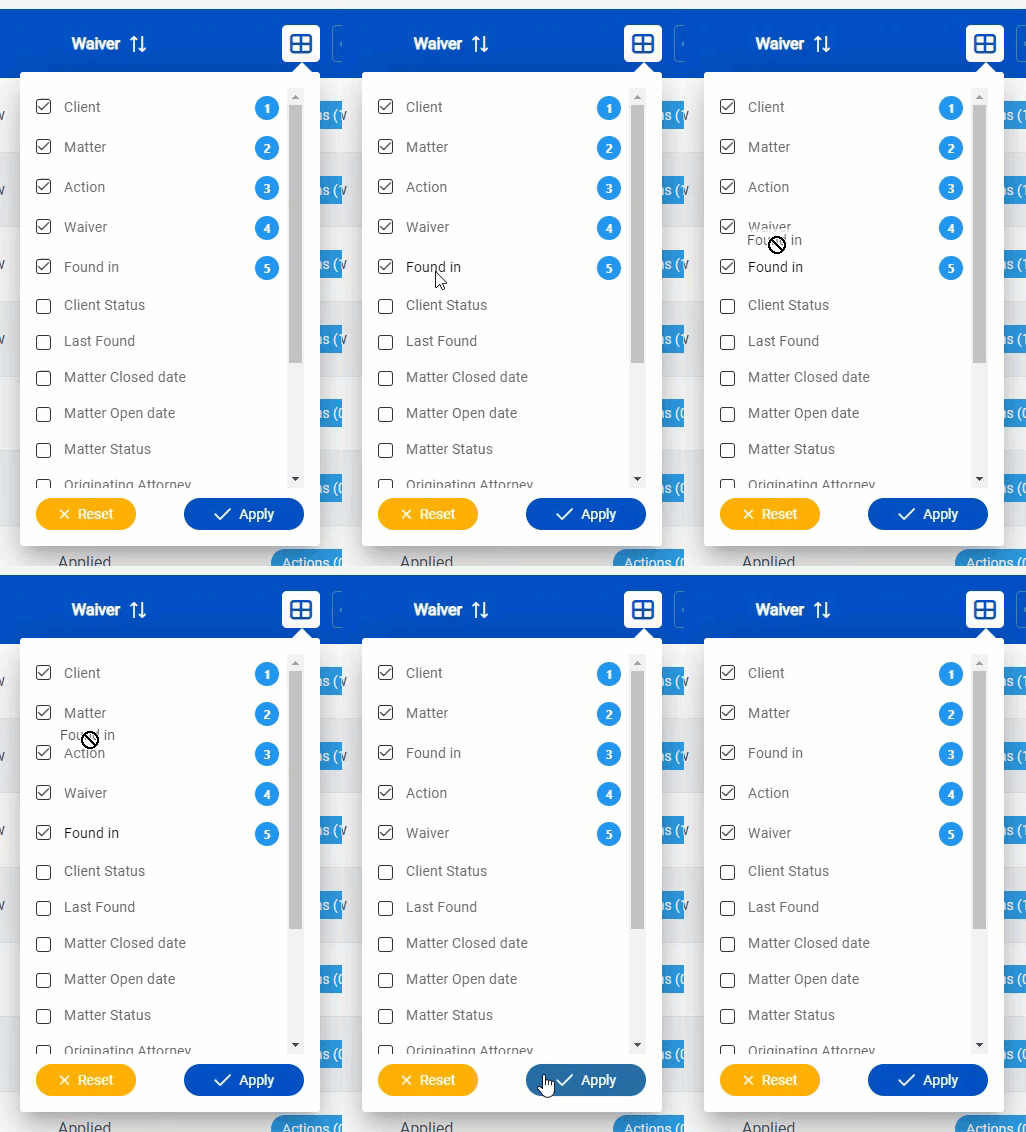
A menu of available columns opens. The current columns displayed are numbered in the order they appear.
-
Select a column to add to the screen or clear a column to remove from the screen.
Note:
-
The Party column is always the first column on the formal search Results screen and it cannot be removed or rearranged.
-
The Sub client column can only be added or removed if your firm uses sub clients.
-
If you select more columns than can fit in the default width of the list for your screen resolution, a horizontal scrollbar will be added to the bottom of the list so you can scroll left and right to view all the columns.
-
-
Drag the selected columns up and down to rearrange them.
-
Click Apply when you finish.
Tip: To cancel the selected customizations and return the columns to the most recent settings, click Reset.
The screen is refreshed with the customized columns. The applied customizations are retained until you change them again.
Open items to view details
Some items have details that expand directly in the list. Click an item to open the details. Click the item again to close the details.
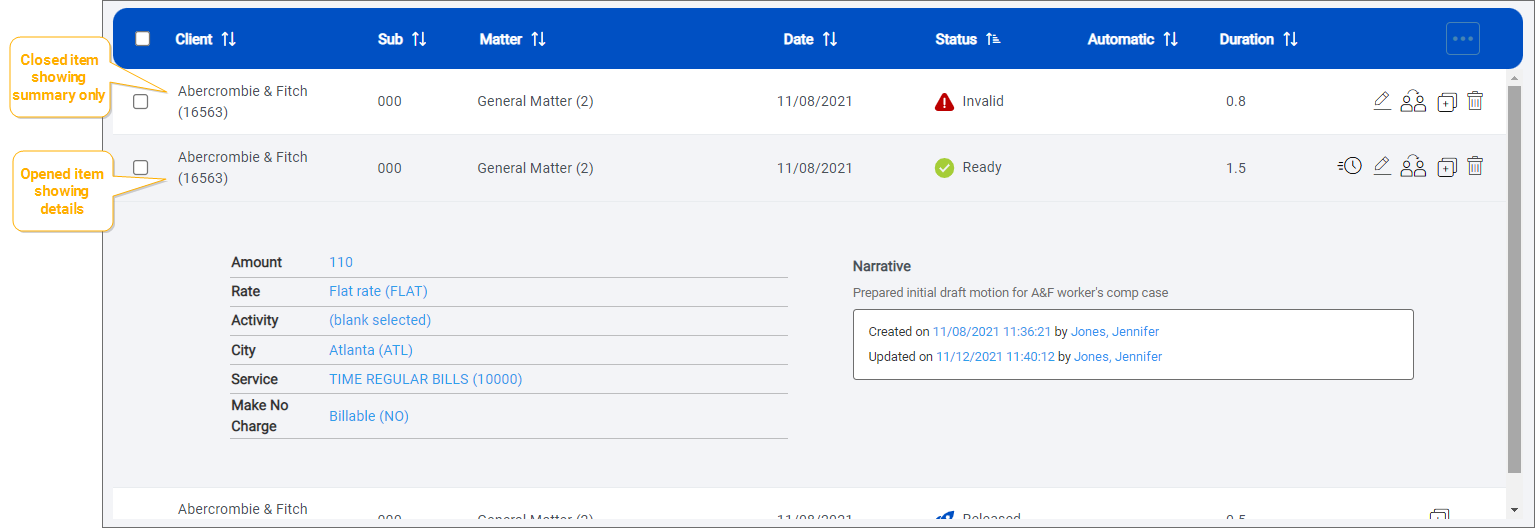
Other items include only summaries in the list. These items do not expand when they are clicked.
Working with multiple items at the same time
Some lists support opening multiple items for editing or performing other actions at the same time.
-
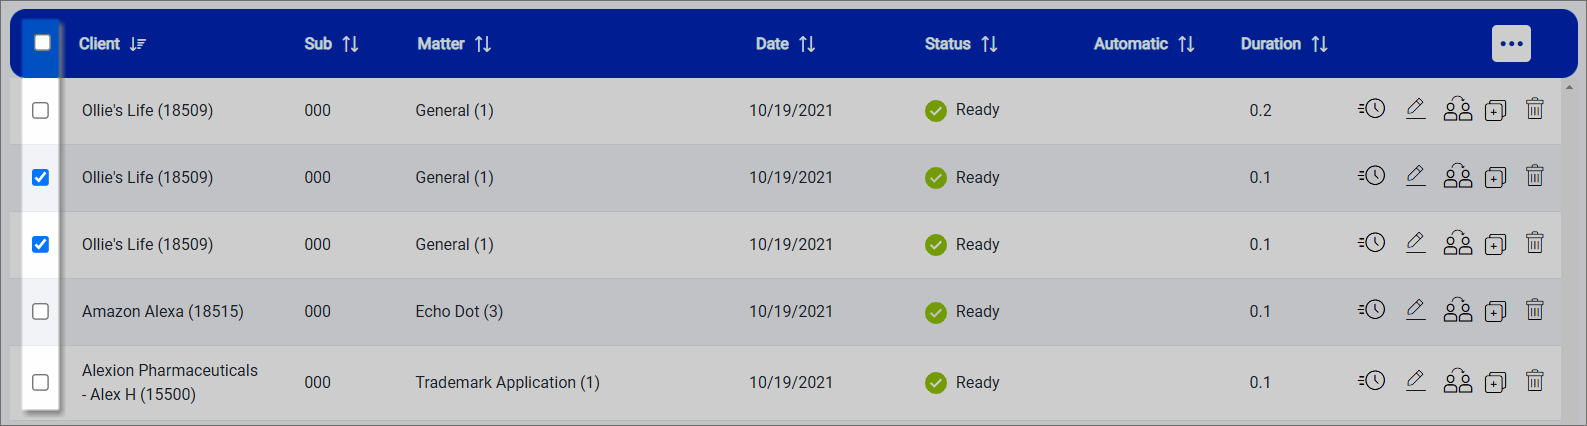
Select the check box to the left of each item to work with. You can also select the check box above the list to select all items.
-
Click
 in the column header area and select the action to perform. The available actions depend on the selected items you are working with and your assigned user role. The number of items you selected is displayed at the top of the menu for reference.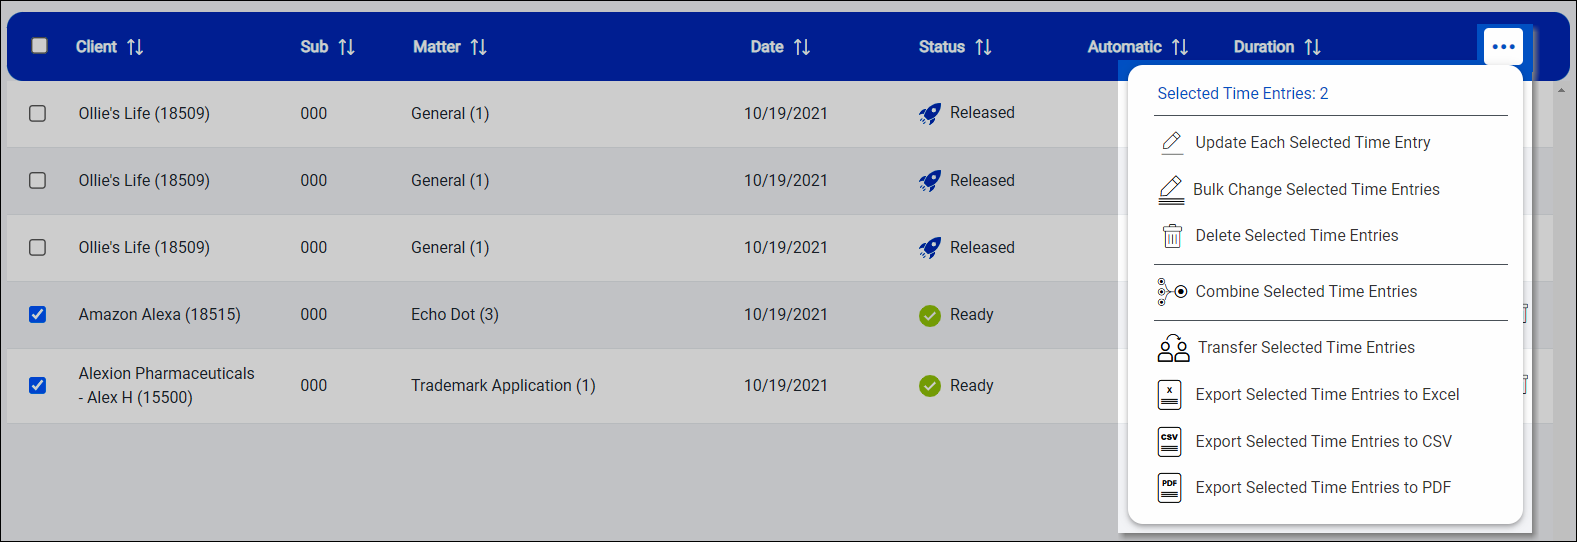
If you are editing multiple items, the items open in a single screen with
 and
and  arrows to move back and forth between items. The number of items you selected and where you are in the sequence are displayed to the left of these arrows as you move between users.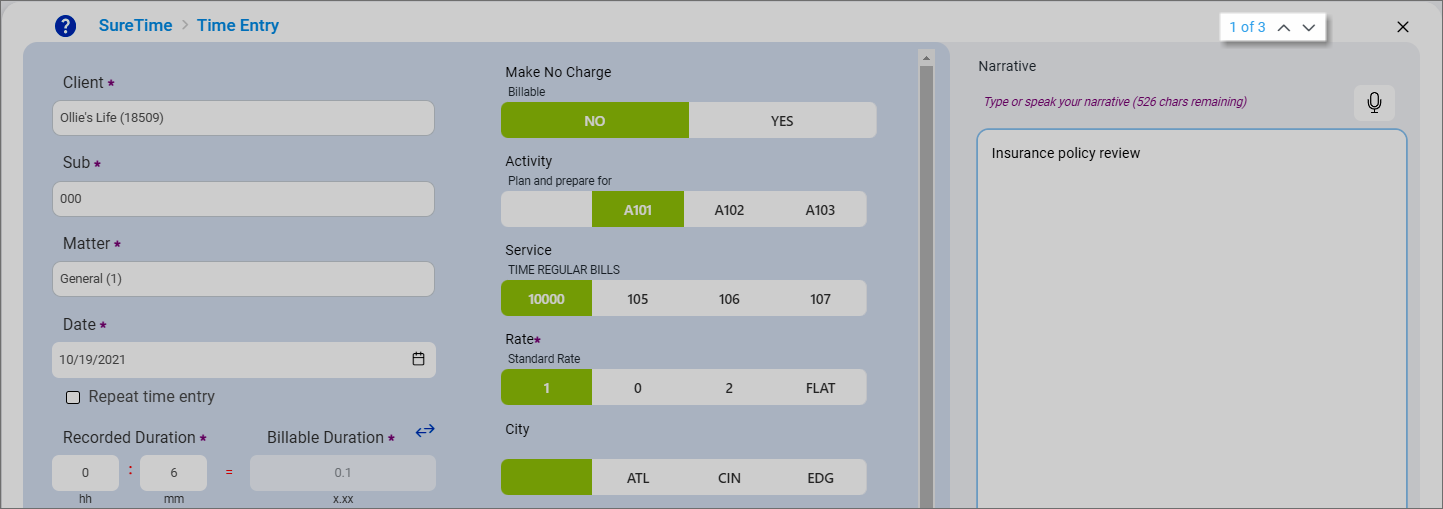
You must save the changes to each item individually, and then manually close the window when you finish making your changes.
